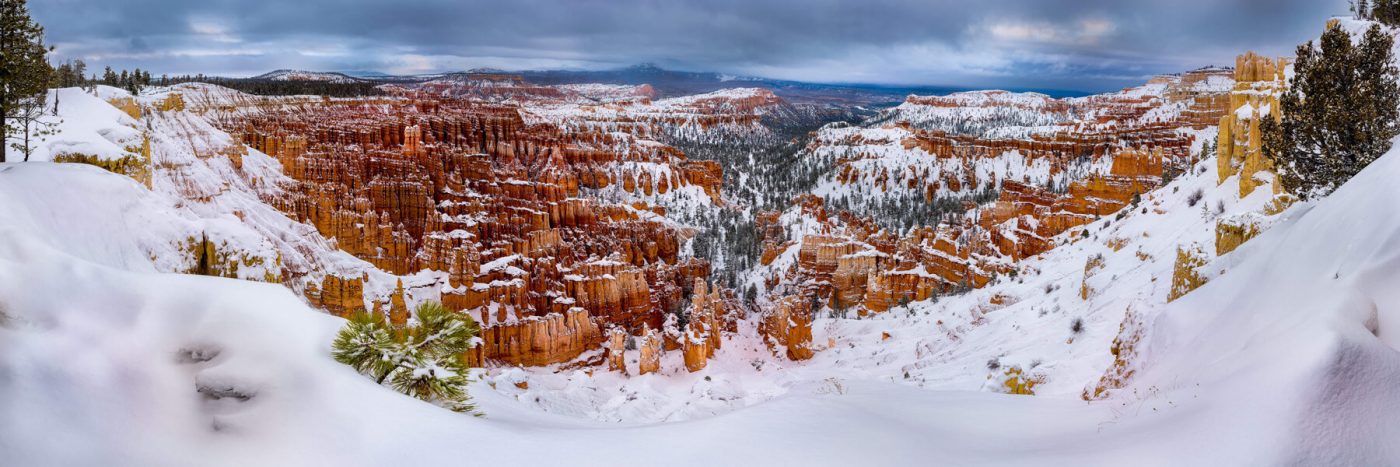
I do love me some good pannos. Living as I do in the great American Southwest, everywhere I turn screams to be shot in panoramic style. And not just at 2:1 ratio (that is, twice as wide as it is tall, or 10×20, for example), bit at 10:1 or more. The views out here are just that grand, and that intoxicating. And that worthy of being reproduced in as much detail as possible.
So how are we going to do this? Well, lets start with a good tripod that has the ability of pan (hence panorama….). That is a good place to start, but not always necessary. I have shot a lot of pannos hand-held. You just have to pay attention to what you are doing. More on that later…
Now cameras… use whats you gots! Whatever camera is in your hand is the best camera. But if you have your choice…. I would recommend the highest resolution camera you have. And a camera that shoots RAW format. You want to use a “normal” lens, a 50mm for full frame, or 35mm for crop sensor. Adjust to about that focal length if you have a zoom lens. This is so we have the least distortion to start with.
Now here is the secret: shoot in vertical more, often called “portrait” mode. This will put the long side of your frame vertical, and give you the more vertical pixels possible. For instance, let’s say your camera is 1000px x 2500 px. If you shoot horizontal, your vertical height will be 1000px. If you turn it 90 degrees, then you suddenly have 2500 pixels as your vertical height. Who cares about how many pictures you have to stitch together, we care about uber-res pictures.
Now let’s plan out how you will shoot. Choose the left and right boundaries of your panorama. Practice shooting it, vertical, and moving left-to-right. (You CAN do right to left of you want, I just prefer L-to-R). If you are shooting hand-held, it is a good idea to get some alignment points set up. Typically, I will set the horizon at a point inside my viewfinder, and as I rotate, I always make sure that point in my viewfinder lines up. This keeps you moving level.
I will also overlap each image by 1/3. As I move, I will pick an object on the right side of my frame, and move that across 2/3’s of the way. Shoot another image, them pick a new object to move across. As long as you overlap, you should be fine.
If you need to, you can also shoot two rows of images to make up your panorama. This does tend to be a little harder without a tripod, but it can be done. Again, just use landmarks in each frame to keep your frames even. If you are dealing with pure blue sky, make sure you include a little bit of land or there will be nothing to line things up with when we process images.
Now let’s set the exposure. Hopefully, there will be nothing too bright or too dim and we can do this at one setting. If you can’t, expose for the brightest part of the image and set that exposure in MANUAL- we’ll recover the shadow detail in Lightroom later. DO NOT SHOOT IN AUTO ANYTHING- it is super important to have the same exposure across all your images. Use the lowest ISO you can, use the deepest ƒ stop you can (unless you have good reason not to). If you have a tripod, and this gets you to a 1/5sec exposure, who cares! If you are going hand held, well, try your best. Shoot extra versions! Nest time, bring a tripod.
Start on the left, and let’s shoot. Move 2/3 to the right and shoot. Again, until you are to the furthest right you want.
Now the pixel peepers will tell you that you need to rotate about the nodal point of the lens you are using to not have any parallax distortion. And this is 100% true. But I don’t care. I shoot pictures, I don’t have time to pixel peep. As long as you keep the closest object to you at least five feet away, this really does not matter. If you are shooting closer than five feet, you do need to worry about parallax, and you need a ton more gear. This is beyond the scope of this discussion.
I would also recommend you shoot the full scene two or three times. Just to make sure. Maybe vary your exposure if you want. Film is cheap these days, take your time and make a great image.
I was going to get into developing images for panoramas, but I seem to be getting too wordy. So I will do that next week. Maybe. I hope this helps you shoot better panoramas! If you have any other tips to help people with their panos, please post them in the comments below.

