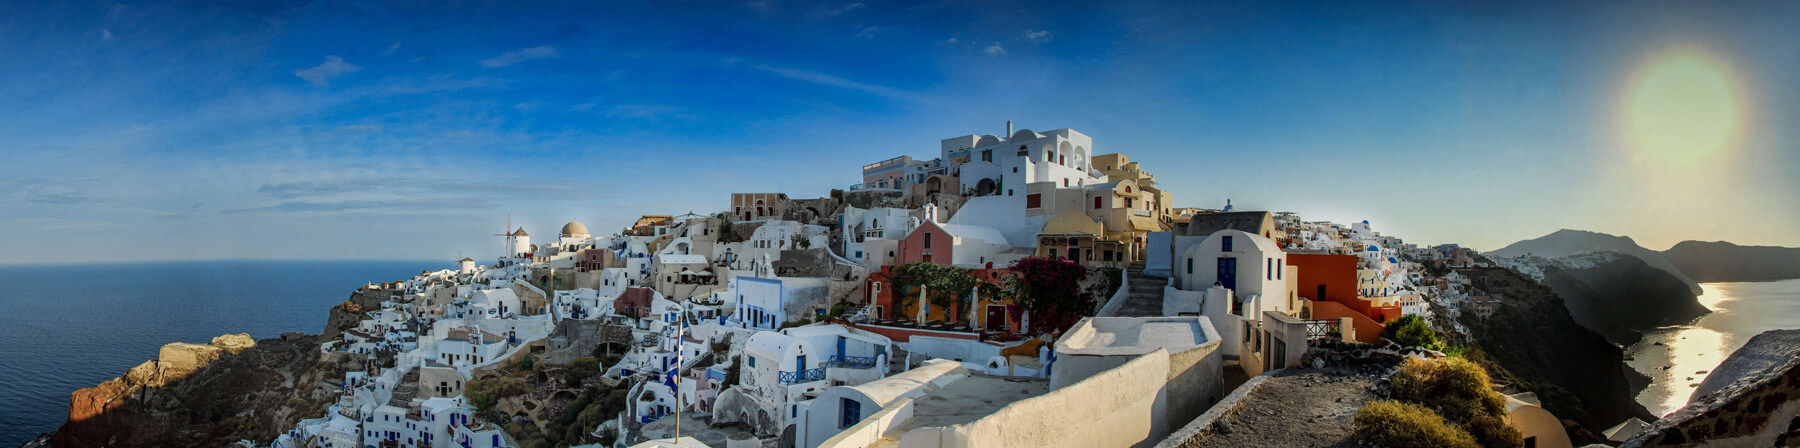
You have your panorama images all set up, and you are ready to combine them into one titanic large image. Well hold on there hombre, there’s a few things we have to do in Lightroom before we whip out the glue. First, if you followed my previous directions, you shot all your images in RAW. Good. Import them into Lightroom. If you don’t have Lightroom, do your best; Lightroom is what I use, and I don’t know anything else. As much as I hate Adobe, Lightroom really is a must have.
Assuming your images are all in Lightroom, let’s look at them. Which is the best sequence? Are you sure? OK, let’s go with that sequence. Let’s open the first image in the sequence. Don’t touch exposure or anything yet. Let’s move down and adjust up the sharpness to where you like it- this will ALWAYS depend on the picture, and cannot be preset. Then adjust the masking (you know how to do that, right? Hold down the “Alt” key on a PC or the “Opt” key on a Mac and move the slider. You want to mask all the solid colors from sharpening so they do not band). Now zoom in and bring up the Luminance Noise Reduction until the noise of the sharpening goes away.
Now, under “Lens Correction”, click both boxes for “Remove Chromatic Aberration” and “Enable Profile Corrections”. In the nest Box- “Transform”- choose “Auto” unless it totally crews up the image.
If you have any sensor or lens dirt, now is the best time to clean it up. Since nothing changes from one image to the next, any corrections to this image will get copied to all the other images in the next step.
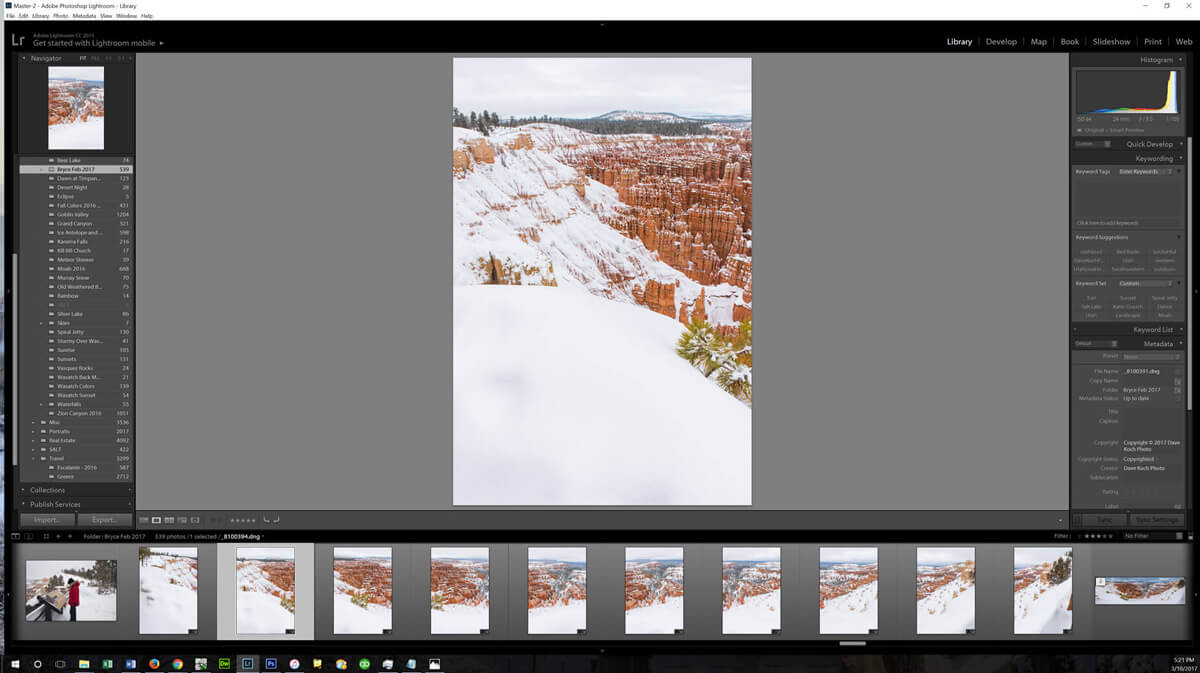 Now click on the next image in line in the panno, and click the bottom “Previous” button. Do this across all the images of the panorama, so that all are equally sharpened and corrected.
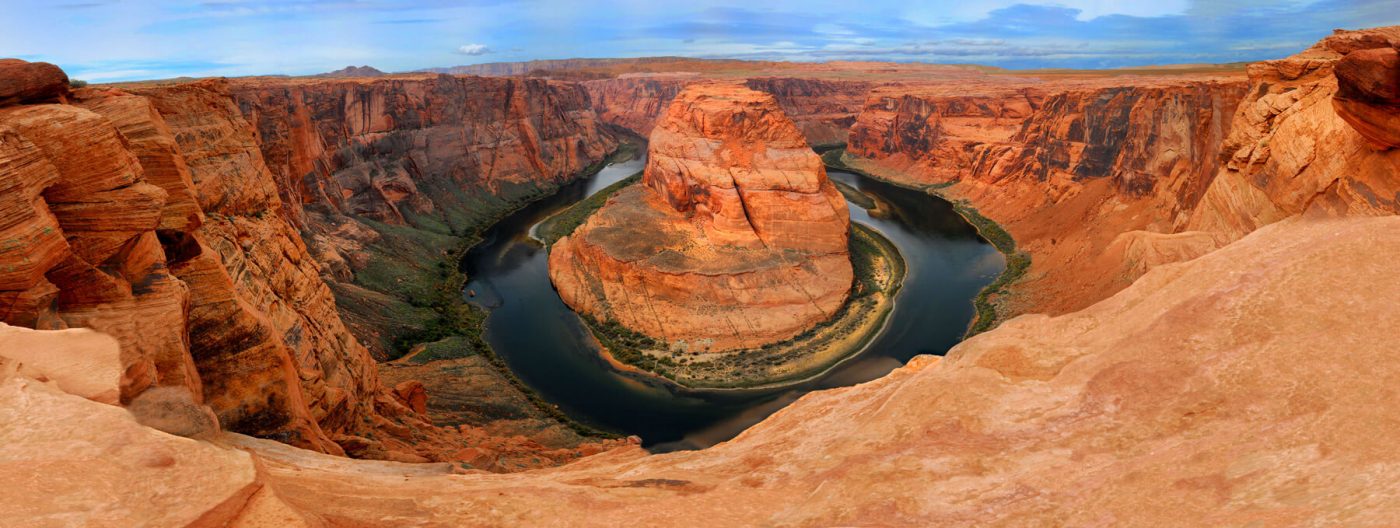
Its magic time! In the bottom frame of Lightroom, click on and select the first image in the panorama. Hold down the “shift” key on a PC (or the “shift” key on a Mac) and select the last image of the sequence. Now, the whole panorama should be selected and highlighted. Right click (on a PC, on a Mac you’re out of luck) in the main window on the first image, and choose Photo Merge, and then “Panorama” from the fly-out- or use shortcut CTRL-M. Let it run, and pretty soon- like magic!- you will have a stitched panorama inserted into your Lightroom drawer.
This final merged image is where I would begin making all your exposure adjustments. If you had a large dynamic range, you can probably start by bumping up the exposure a bit, and cranking the shadows. Take the highlight down to recover they sky and you should be good to go.
That’s all there is to it! I would save an archival version of your new panorama at full resolution in “Export”, but then knock down the size to something a bit more reasonable for posting to the FaceBook and InstantGram. I hope this helps! If you have any other tips to help people with their panoramas, please post them in the comments below.