At the end of our Escalante trip, we skated through Bryce for the night. Cold, but beautiful! We were traveling on the edger of our seats, because we had blown a tire in Escalante, and we were traveling on a donut tire. No one had a replacement in our size in Escalante, or in Bryce. So slow and steady was the name of the game, going up and down canyons on our way to Cedar City and a new tire.
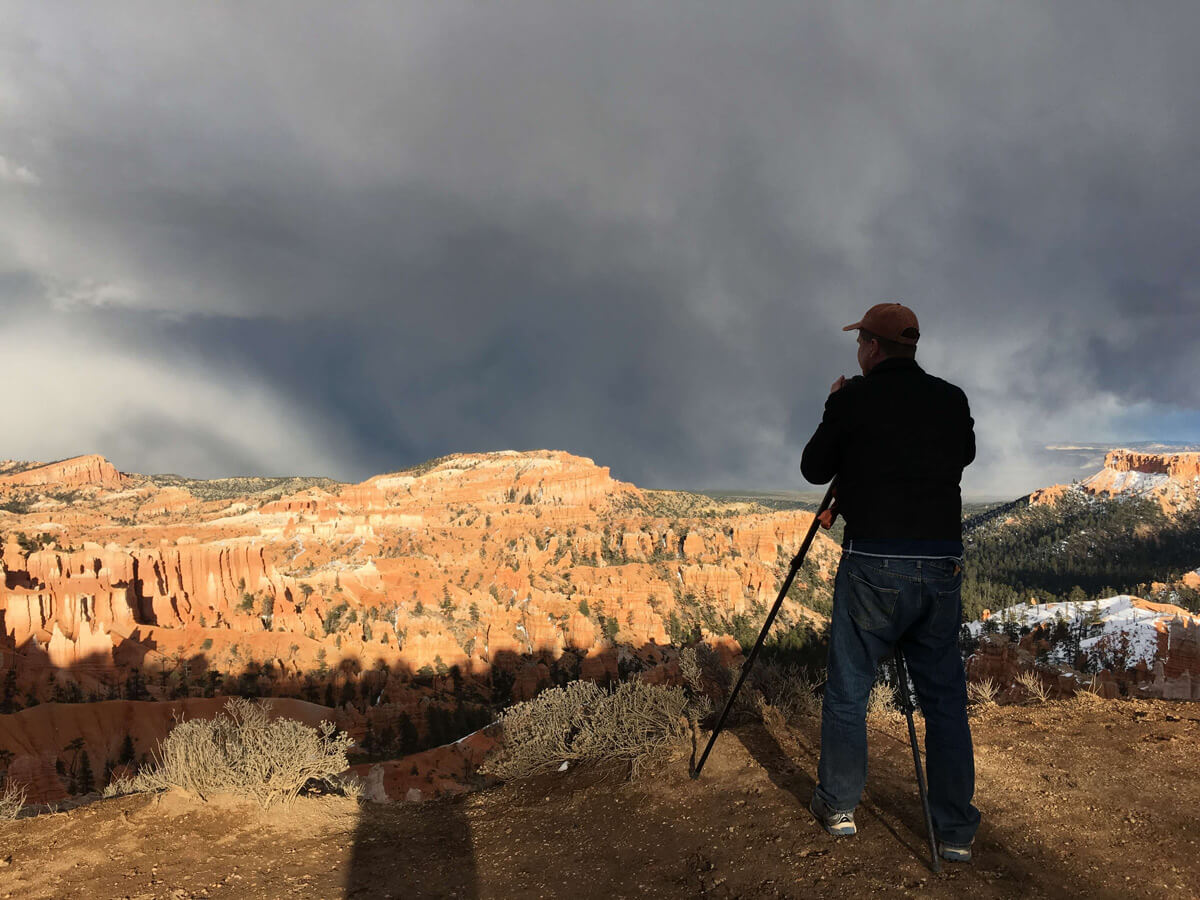
Bryce is a convenient half-way from Escalante to Cedar City, and we decided to spend the night here. We were planning both a sunset and sunrise shoot. We sort of followed a snow squall into Bryce; it had been with us all the way from Escalante. Luckily for me, it was not all obscuring, it just gave us fantastic clouds.
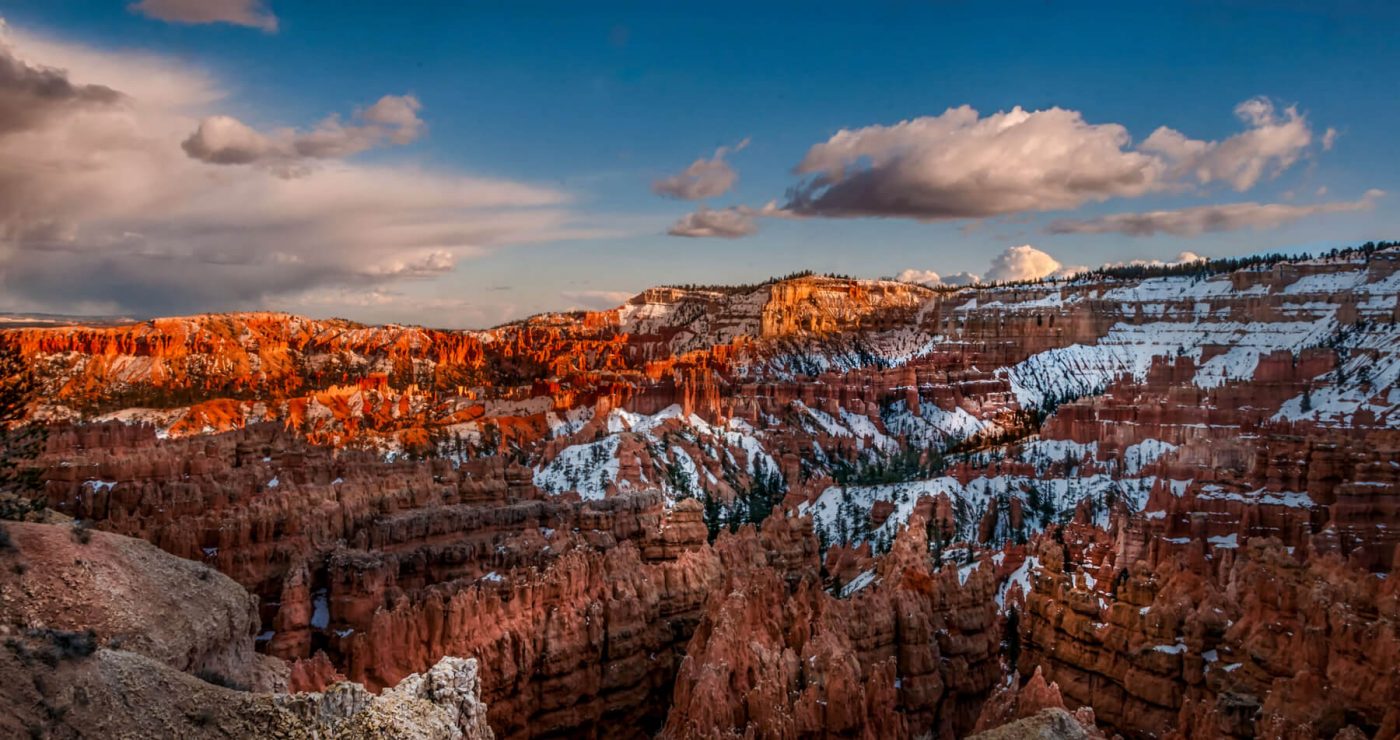
 This image was shot from just south of Sunset Point. I have this thing: if everyone takes their pictures from a specific “point”, I will want to be somewhere else! This looks to be the first shot I made at Bryce that afternoon- you can see the sun racing away on the far Hoodoos.
This was shot with my old, trusty D300s. That was a GREAT camera- I had it many years, and it never failed me. It is on the desk in front of me right now- dirty and battered, but I would trust it to take any pictures I needed right now.
Anyway, I hit the trail running with this camera and the Nikon 10-24mm. Both are AP-C or crop-sensor. The shear vast scale of Bryce- the canyon goes horizon to horizon here- almost demands a panorama. So that’s what I shot.
Bryce itself is the obvious subject, and so that takes up the vast majority of the middle ground. Those clouds were so pretty, so I included them as my distant background. I was able to find a place with a bit of a foreground subject to bring us into the picture, and getting the dash of light on it just made it work all the better.
Normally, I like to shoot a panno with a 35 or 50mm, because of the lack of distortion involved. I used a wider lens here for a couple of reasons. First, to get the grand scale I wanted, I needed the vertical of a wider lens. Second, I find doing multiple rows of images many times does not work, especially when one row would be blue sky. For ease of use, I decided on the 18mm (roughly 27mm full frame) for the image.
Now I would have done this differently, and tis is what I advise everyone to do. Shoot the tighter lens- 35mm-ish to 50mm- and shoot VERTICAL or Portrait mode. This gives you the same vertical sweep this image needed, but the long row of pixels is not the vertical side. (This image RAW file is 4200 x 2800, thus the vertical is 2800. If I had swung the camera around, the vertical would have been the 4200, and the panno would have ended up being 8000 pixels wide instead of the 5000 it ended up at.) You are going to shoot more images as you sweep through your panorama, but you are going to get much more detail. My most recent Bryce Canyon pannos are all shot vertical.
Exposure. I have that darn hard sunset light- cannot lose that! In landscape, it is way better to go dark than to lose the whites… so I exposed for the light. There is a ton of light, so I used a low ISO- 125 (which is Low 2 on this camera I think). I don’t mind going down there because I am an old film dude… ALWAYS low ISO! 200- the base ISO on this camera- just seems too high to me!
Obviously, depth of field is paramount in shooting Bryce Canyon, especially for a panno. All the way to ƒ/22 I pushed it. That gave me a shutter of 1/5 of a second. If you read my shooting reports, you know I don’t even leave without a tripod, so 1/5 is totally fine for a shutter speed.
This image is two images merged in Lightroom. I do all the lens corrections, chromatic aberration removal and sharpening on one image, then copy that to the rest, and then I merge into one image. From that final image, I start all my color and contrast adjustments.
I tried so hard to make sure the quality of the light here reflected the actual event. I usually go so over the top…. this one is a more natural look. I kept that golden hint on the top, and worked the color from there.
What I like most about this image is how crystal clear this is. That is partially the multiple images, partially ƒ/22 and partially just how clear it is there. I kept sharpening down, and let the contrast do the sharpening.
To accentuate all the many spines of Bryce, I did a lot of dodging and burning. I wanted a contrast to set off one spine from the one behind it. SO a lot of time and work went into creating that separation.
I was very happy with the final piece. It is a step away from the normal over-the-top chroma I use, and I like this piece that way. Bryce has a lot of color itself anyway without me pumping it up. And the blue sky vs. the orange/red of the canyon is just perfect. Definitely much more natural, at least to my eye.
Prints of various sizes are available on the Fine Art America website, as well as the artists Pixel site (http://davekochphoto.pixels.com/) and the artists personal site (http://davekochphoto.com).
D300s 18mm IS125 ƒ/22 1/25 sec